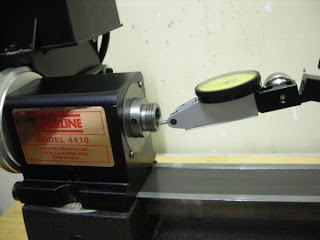
First thing I am going to check is the spindle. There are two critical matching surfaces.

1. The shoulder; inclination and flatness check. I have 10 microns deviation, it can form 0.086mm radius turning error at the middle of x-axis (8.66”)

2. The concentricity of the taper hole. Luckily, my indicator doesn’t move! This taper was made in very good quality!

For the first problem, I‘ve used miniature file and no.800 water sandpaper and try to flatten the shoulder. Finally, I‘ve made the deviation down to 2 microns with 45 minutes hand work. The error becomes -0.017mm radius at the middle of x-axis. Of course, if you have patient, you can make it much closer to zero.
沒有留言:
張貼留言